Tutorials

Nail Prep Routine in 7 Steps

hands holding nail polish capsule

prep your nails before using the nimble device

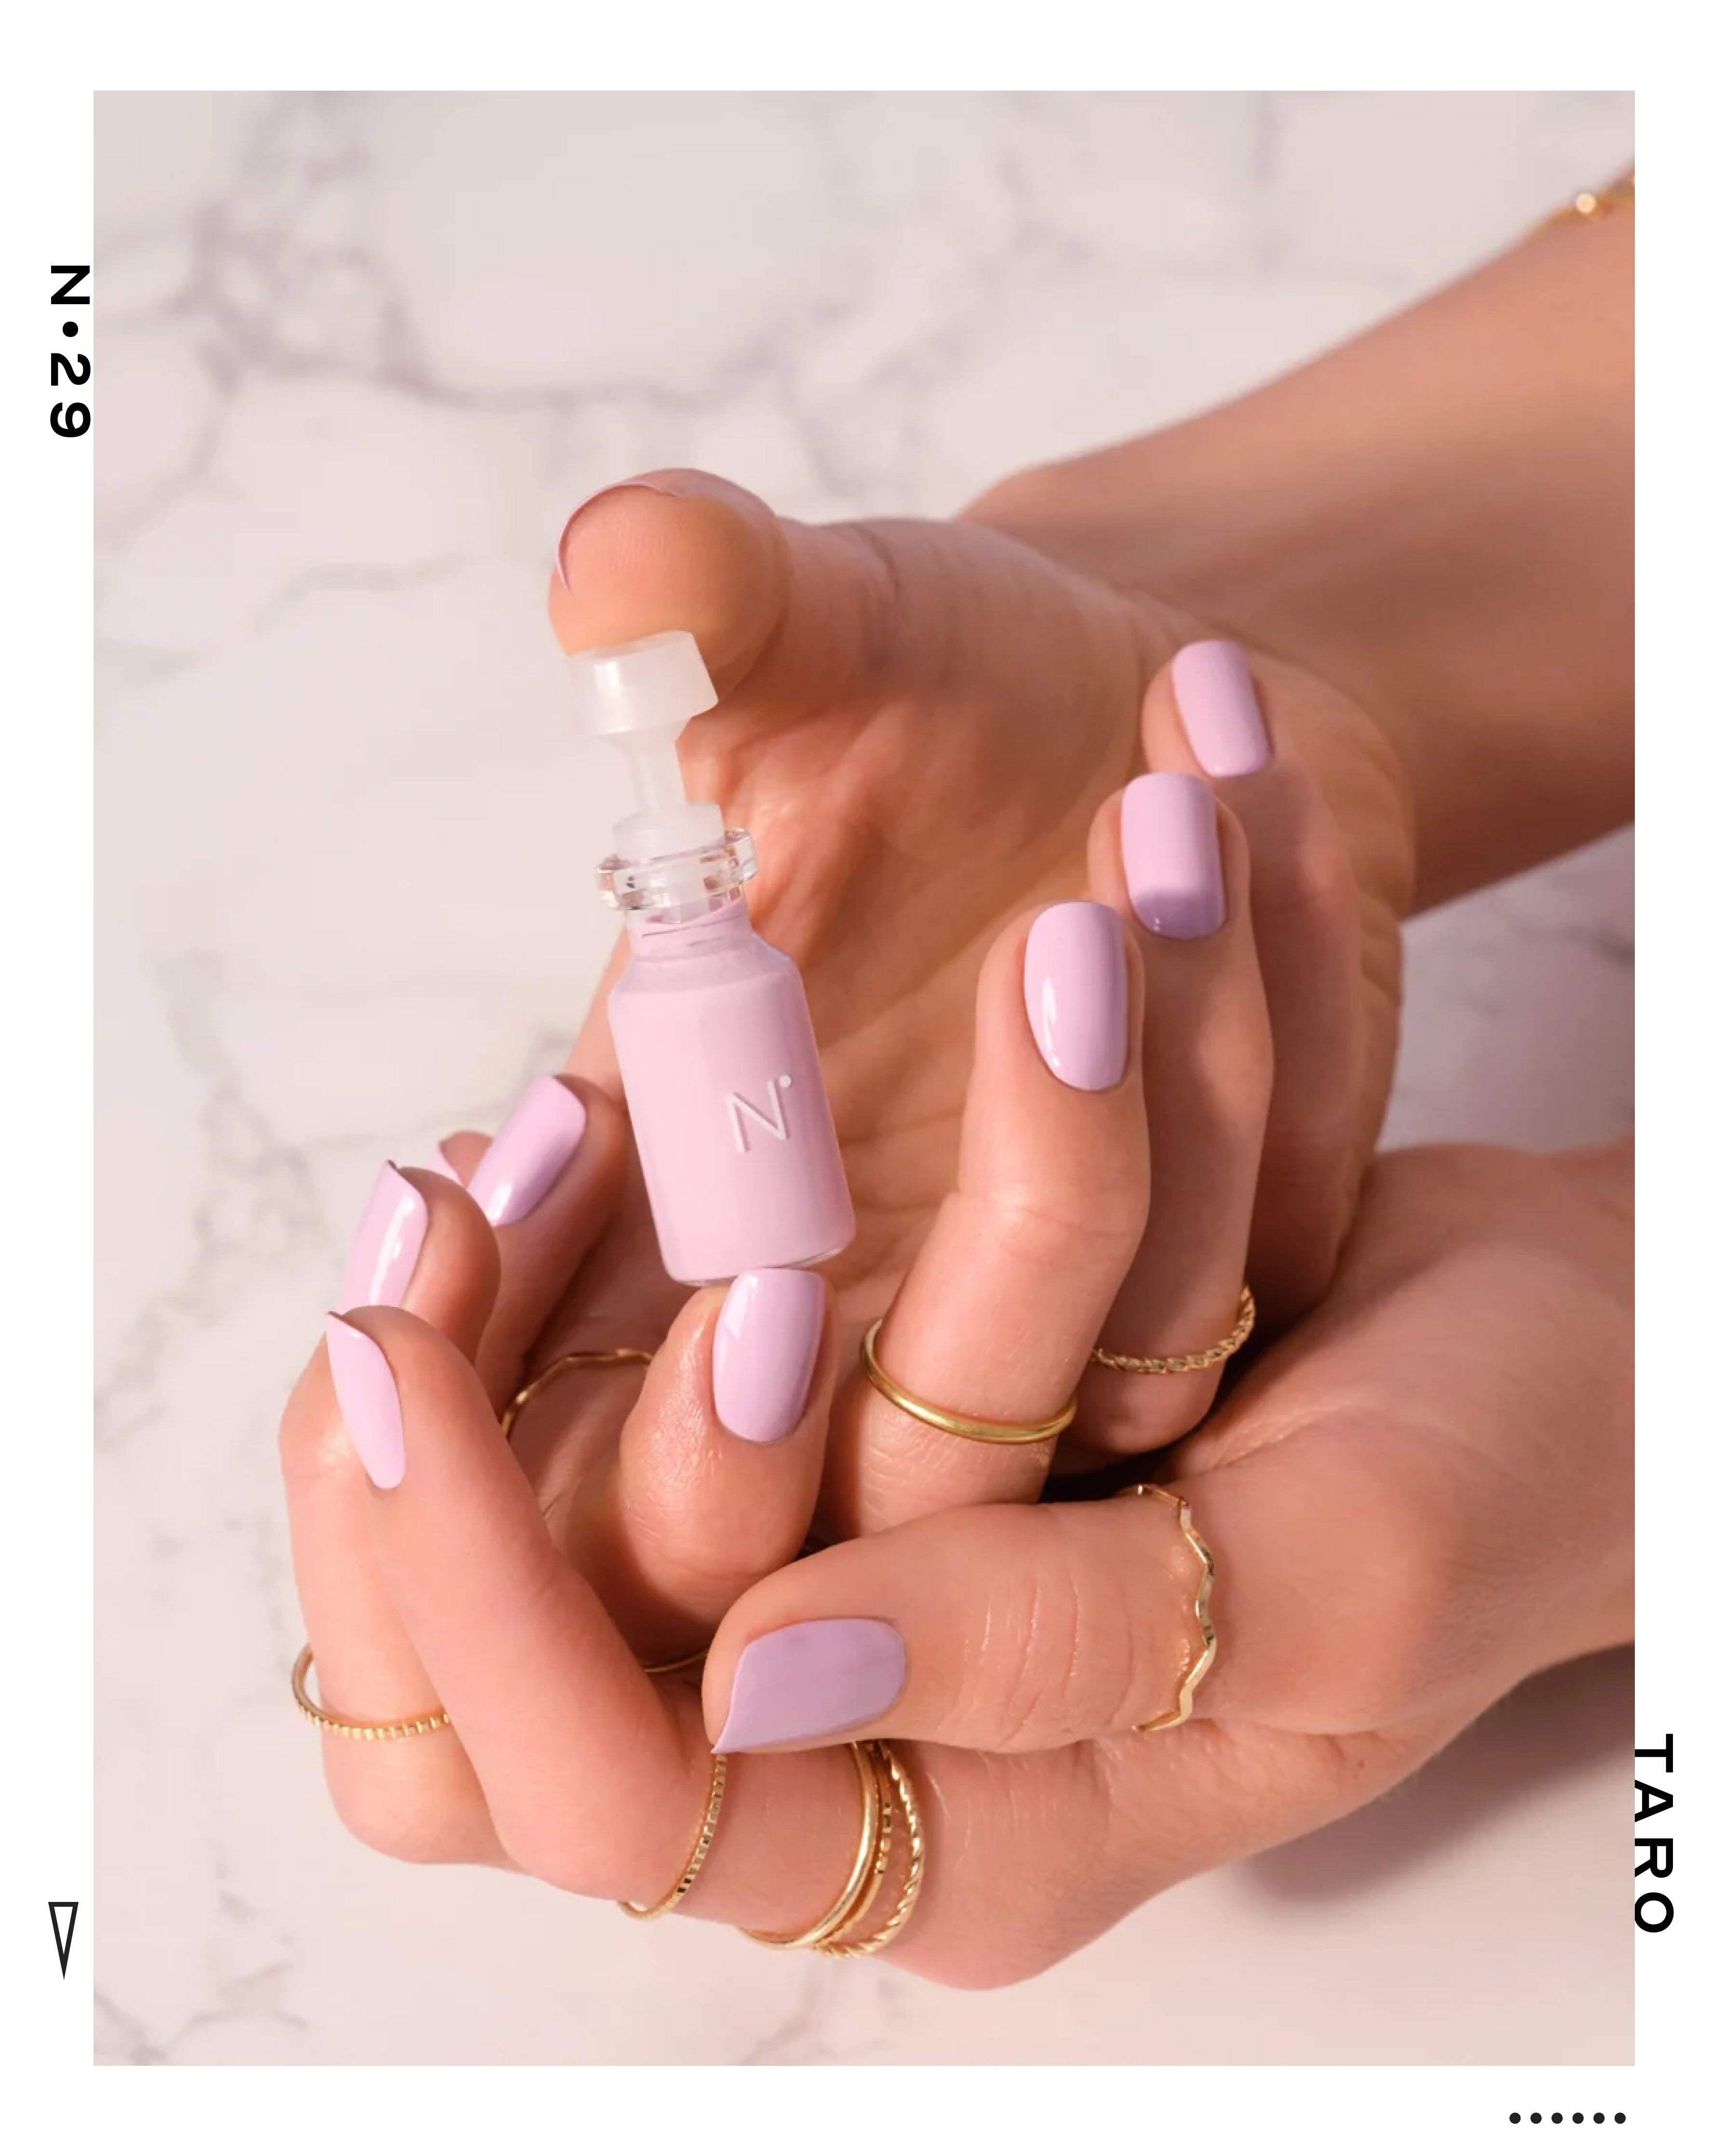
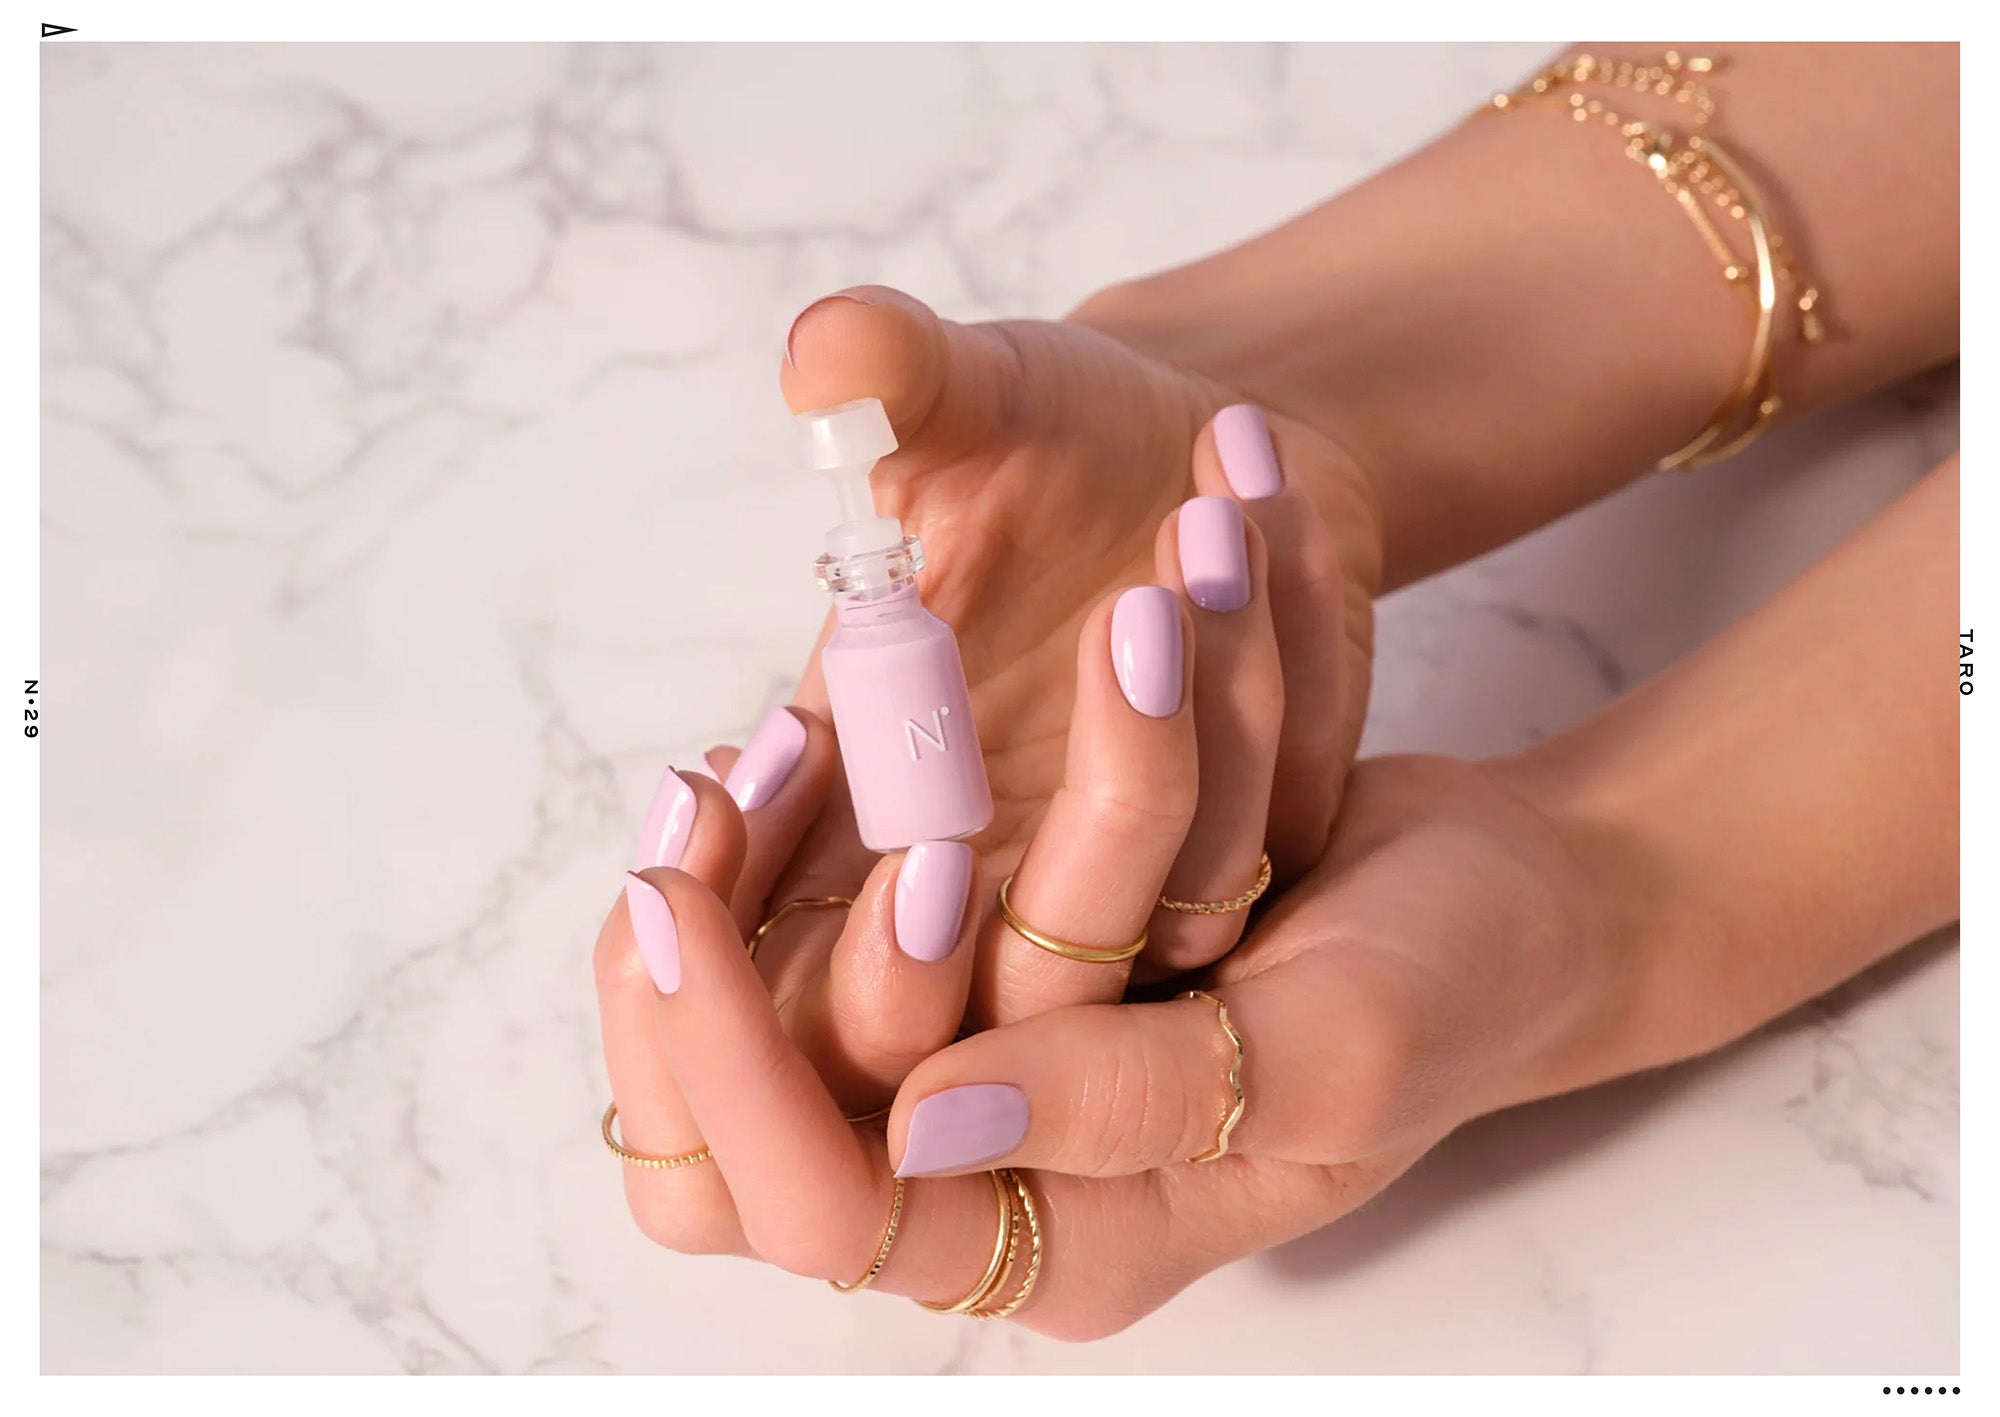
When it comes to providing a professional-grade manicure, Nimble’s automatic nail polish device has your back—with vibrant polish that actually stays on, painted and dried in under forty minutes. 

We handle the polish and you handle the prep. Below, we’ll break down 7 nail prep steps to set you up for your Nimble at-home manicure.

What You’ll Need for Nail Prep

  1. Hand moisturizer
  2. Cuticle oil
  3. Non-acetone nail polish remover
  4. Q-tip
  5. Cuticle softener
  6. File
  7. Nail clippers
  8. Cuticle pusher
  9. Buffer
  10. Hand soap

Step 1: Moisturize, Don’t Forget Cuticle Oil

Healthy nails are happy nails–and healthy nails and hands require moisturizing. Using a nightly moisturizer is best. Did you know that cuticle oil can increase the circulation around your nails, thus stimulating nail growth?

This is all important for growing strong nails. Be sure to apply cuticle oil regularly, ideally the night before your manicure and not the day of.

Step 2: Remove the Old Nail Polish

When it comes to getting a manicure, working with a clean slate is important. Grab a cotton ball or cotton round and soak it in a good, non-acetone nail polish remover. Then, dip a Q-tip into the remover and be sure to get all the old polish out that’s stuck in the crevices surrounding your nails.

Step 3: Soften Up With Cuticle Softener

Plagued with cracking cuticles? A cuticle softener is a must for your nail-care routine and will help when you need to remove your cuticles. Gently massage it into your cuticles for 10-20 seconds for best results.

Step 4: Trim and Shape Your Nails

As the cuticle softener sets into your cuticles, take some time to file your nails. When filing, you’ll want to avoid going back and forth across the entire nail tip because this can cause brittle nails. Instead, file from the opposite corner toward the center of your nail to create your desired shape.

Step 5: Use a Cuticle Pusher

An important part of cuticle care is keeping the cuticles pushed back on the nail. We recommend using a cuticle pusher, like this one from Tweezerman. You’ll want to be sure to keep these tools as clean as possible to avoid infection.

taro nail polish mobile
taro nail polish desktop

Step 6: Buff Your Nails

Next, you’ll want to buff your nails. Buffing, which removes the shine from your nails and helps the polish stick better, can be achieved with a multi-sided buffer.

 Step 7: Wash Up

Give your hands a good washing in warm water to avoid any infection. It’s important to use soap to ensure your hands won’t dry out.

Finally, you’ll want to soak a cotton ball in nail polish remover and run it over your nails to remove any soap residue.

All set? Now get out your Nimble and let the painting begin.

shop the story

get the look

N•28 Waterfalls
N•28
tropical aqua
N•29 Taro
N•29
soft lavender
N•30 Rain
N•30
vibrant aubergine
N•31 Poseidon
N•31
minty green

Keep exploring

manicure tips, inspiration, and tutorials from the Nimble journal